Anchor Text: Creating a Template
Available Plans: Premium, VIP, Standard, Custom Users: All Users
New Template with Anchor Text
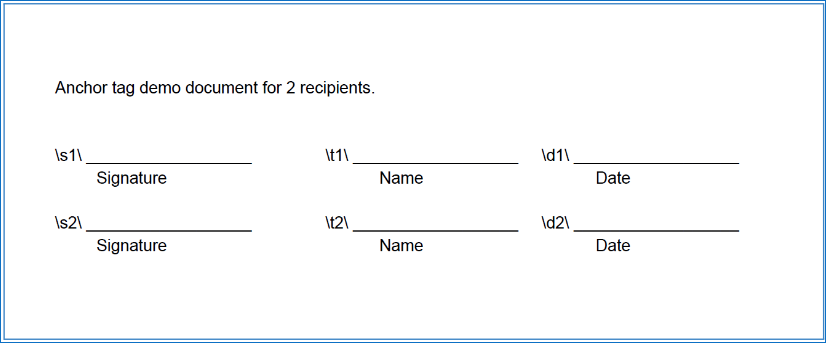
Here’s how to create a new Template with Anchor Text. The first step is to create a document and type the placeholder text into them. In the example below, there are three tags for each of two recipients: a signature tag, a text tag, and a date tag. Note that when preparing a document, the text can be set to be white so that the recipient does not see the tags during the signing process.
Note: The first few times you create a new document or template with Anchor Text you will have to adjust the position of any surrounding text or content to accommodate the tag size. To learn the different ways you can resize a tag to fit your document read: Resizing Anchor Text Tags.
Once you have a document set up, sign into your Signority account and start the process for creating a new Template (Regular, Template Link, or Bulk Sign) as you normally would.

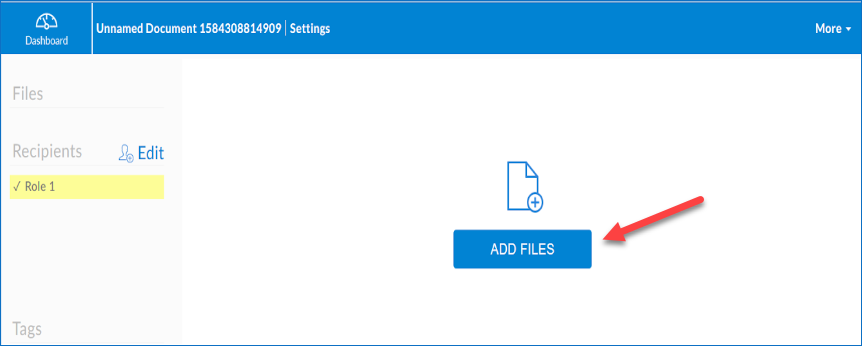
For this example, we will create a Regular Template. Once in the document design page select “Add files”.

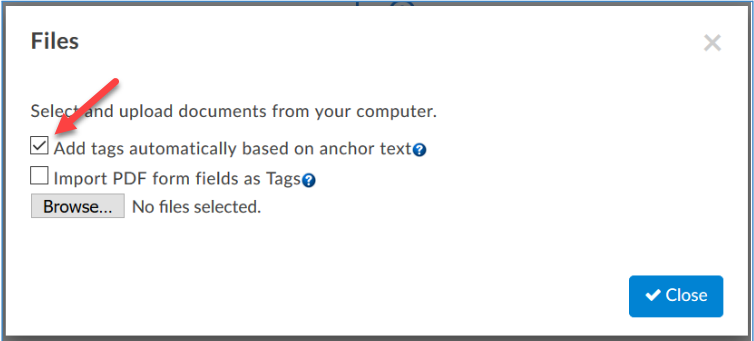
In the pop up window that appears, select the checkbox next to “Add tags automatically based on PDF anchor text”. Then select and upload your document(s).

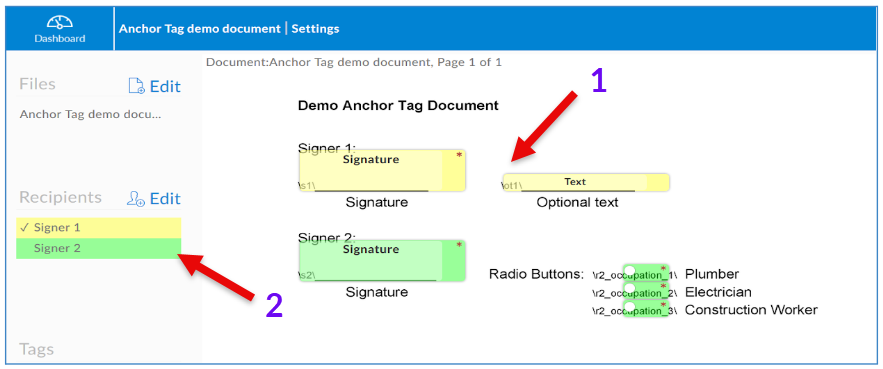
When your document is uploaded, you should see the Signority tags automatically placed onto the document (1) as well as the creation of the required signers in your Recipients list (2).

Note: In this example, the anchor tag text is visible for demonstration purposes. When you are preparing your documents, you will want to change the anchor text font colour to white so they are not visible on the document.
Once the document is ready click Save. Now the template is ready for you to use right away or to share with your team.
Next you may want to learn about:
