Available with: All Team, Custom, and Enterprise Plans Role: Billing Admin & Super Admins
This tutorial will review the settings that are listed in the Global Settings: General category.
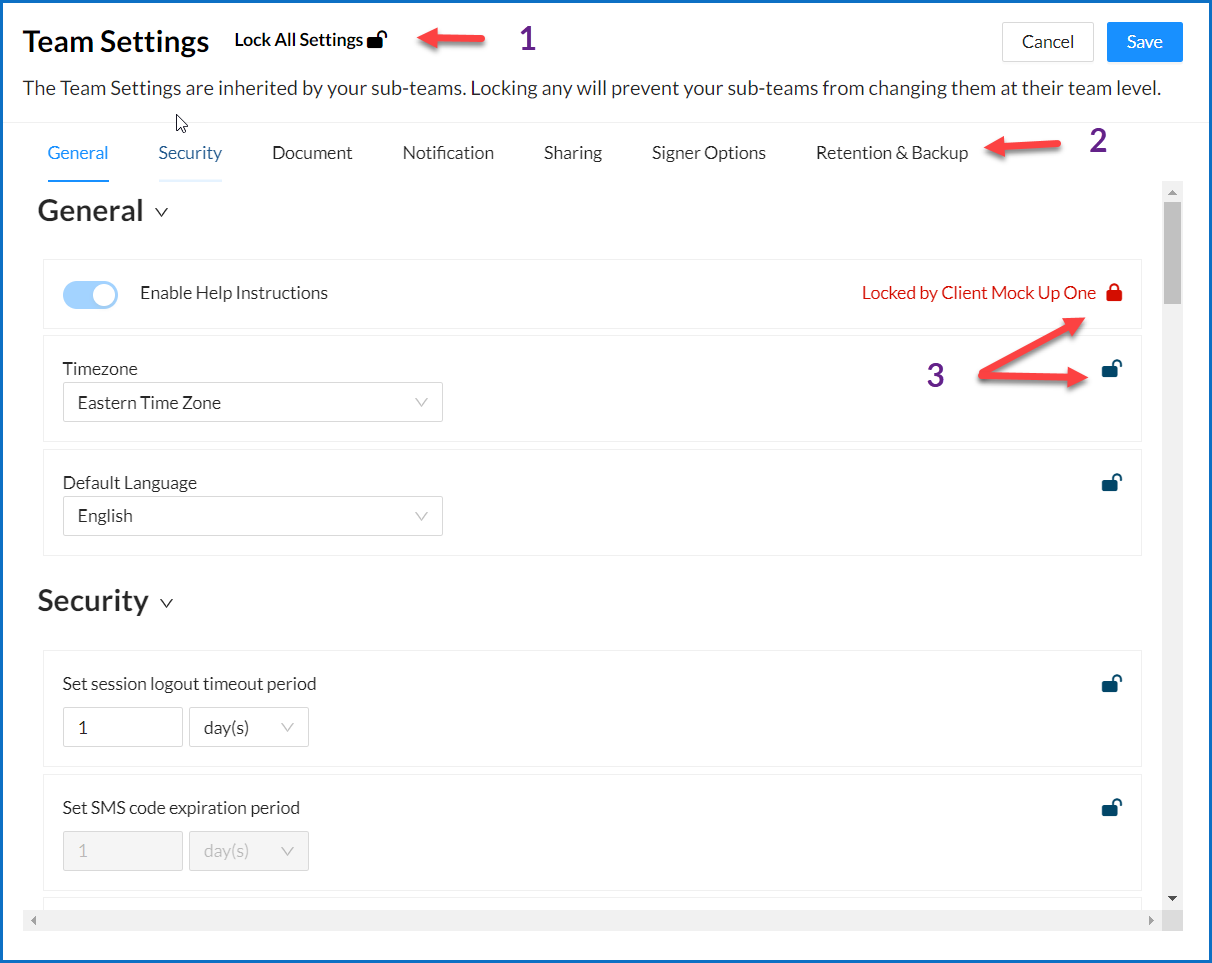
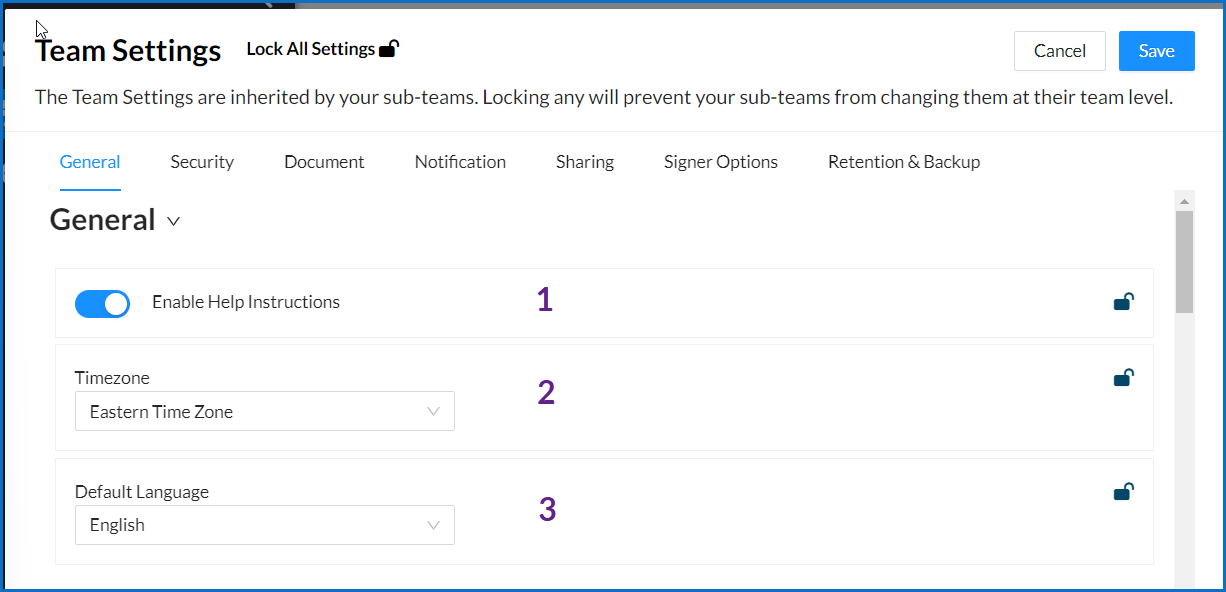
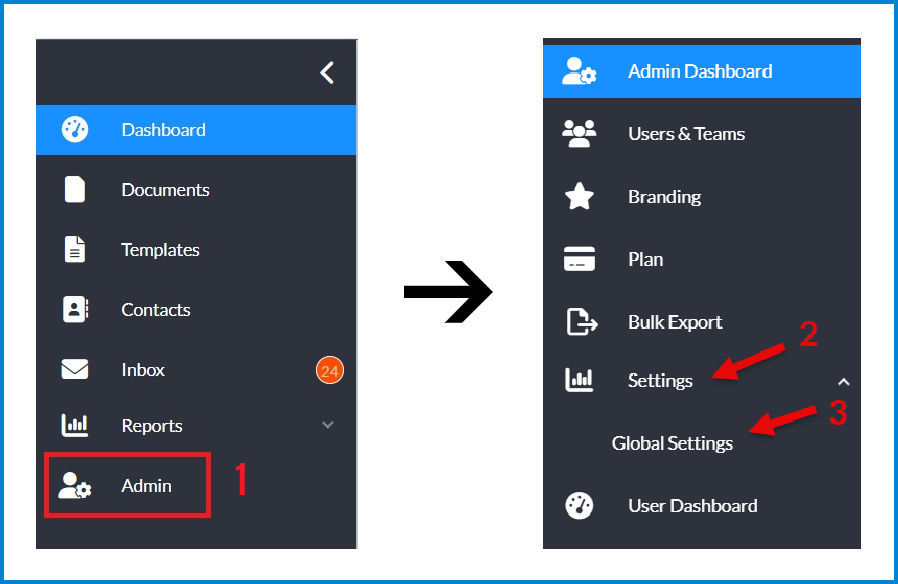
When you go to your Global Settings and scroll down to the General category you will see the following settings:
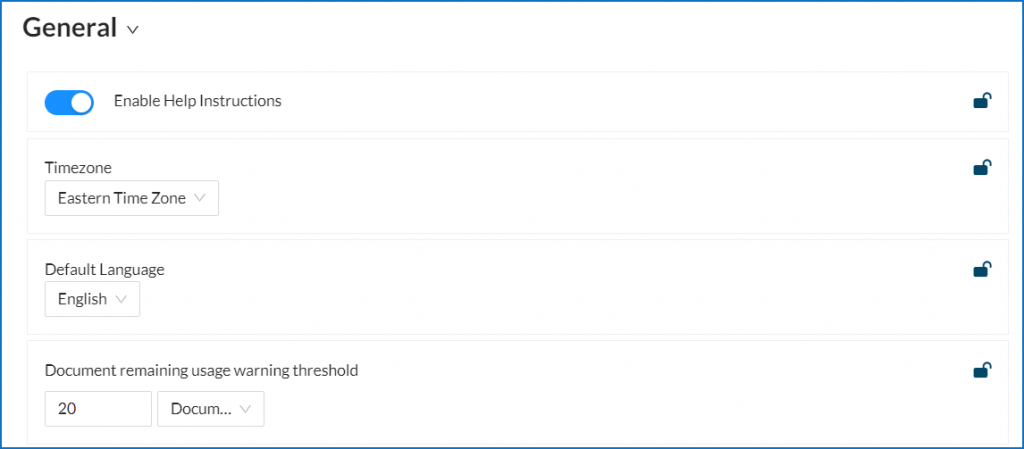
As you can see there is a total of four (4) settings in the General category:
- Enable Help Instructions
- Timezone
- Default Language
- Document remaining usage warning threshold
Let’s review each of the four settings and what they do.
-
Enable Help Instructions
In the image below you can see that this setting is turned on. This is indicated by the white circle being on the right side of a blue oval. This setting allows tooltips and a ‘Next’ Guide button to assist the signer in their journey.

-
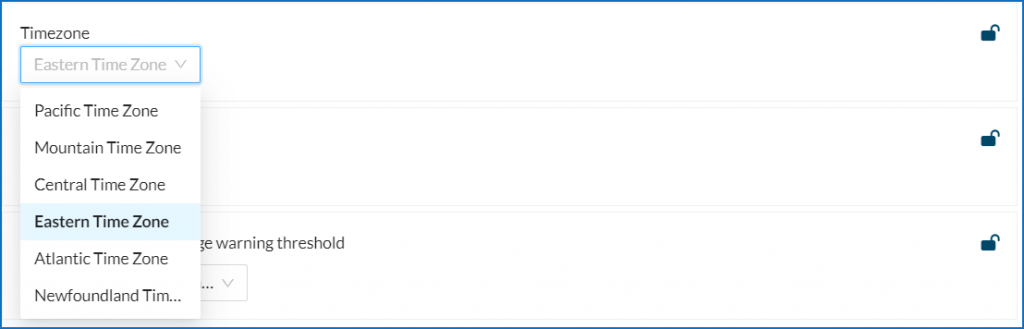
Timezone
The time zone option allows you to set a default time zone for your account. This is the time zone that will be used when documenting the document’s history on the Audit Trail and on the Document Status page. Currently you can only choose from the six North American time zones as seen below.
-
Default Language
This sets the default language that will be displayed within the Signority Platform when you and your users create or send a document. This can also be set on a Team and Profile (user) level. Currently you have a choice between English and French.

-
Document remaining usage warning threshold
The document usage warning setting allows the Billing Admin to set when they will receive an email letting them know that it may be time to add more documents to your account. Here you are choosing to receive an email notification when there are XX number of documents left in your account.

This can be set by either a percentage (%) or a specific number (documents) of your choosing.
Here is how both work:
% – choosing this option defaults to sending you a warning email once your organization has 20% of documents remaining. I.e.: If you had 100 documents at the start, you will receive an email when you have 20 documents left.
Document – with this option you can be a little more granular. This allows you to specify exactly how many documents must be remaining in your account before you receive a warning that your document allotment has gotten low. For example, you could specify that you will receive an email when there are 18 documents left in the account.