Create a New Document
- In Signority, on the top header, click +New > New Document.
- Begin by uploading the document you wish to use by either dragging and dropping it into the grey area or using the Upload From Computer button in the middle of the page. A message will appear when a document is successfully uploaded, and the name of the document will be listed on the right panel under ‘Uploaded Files. ‘
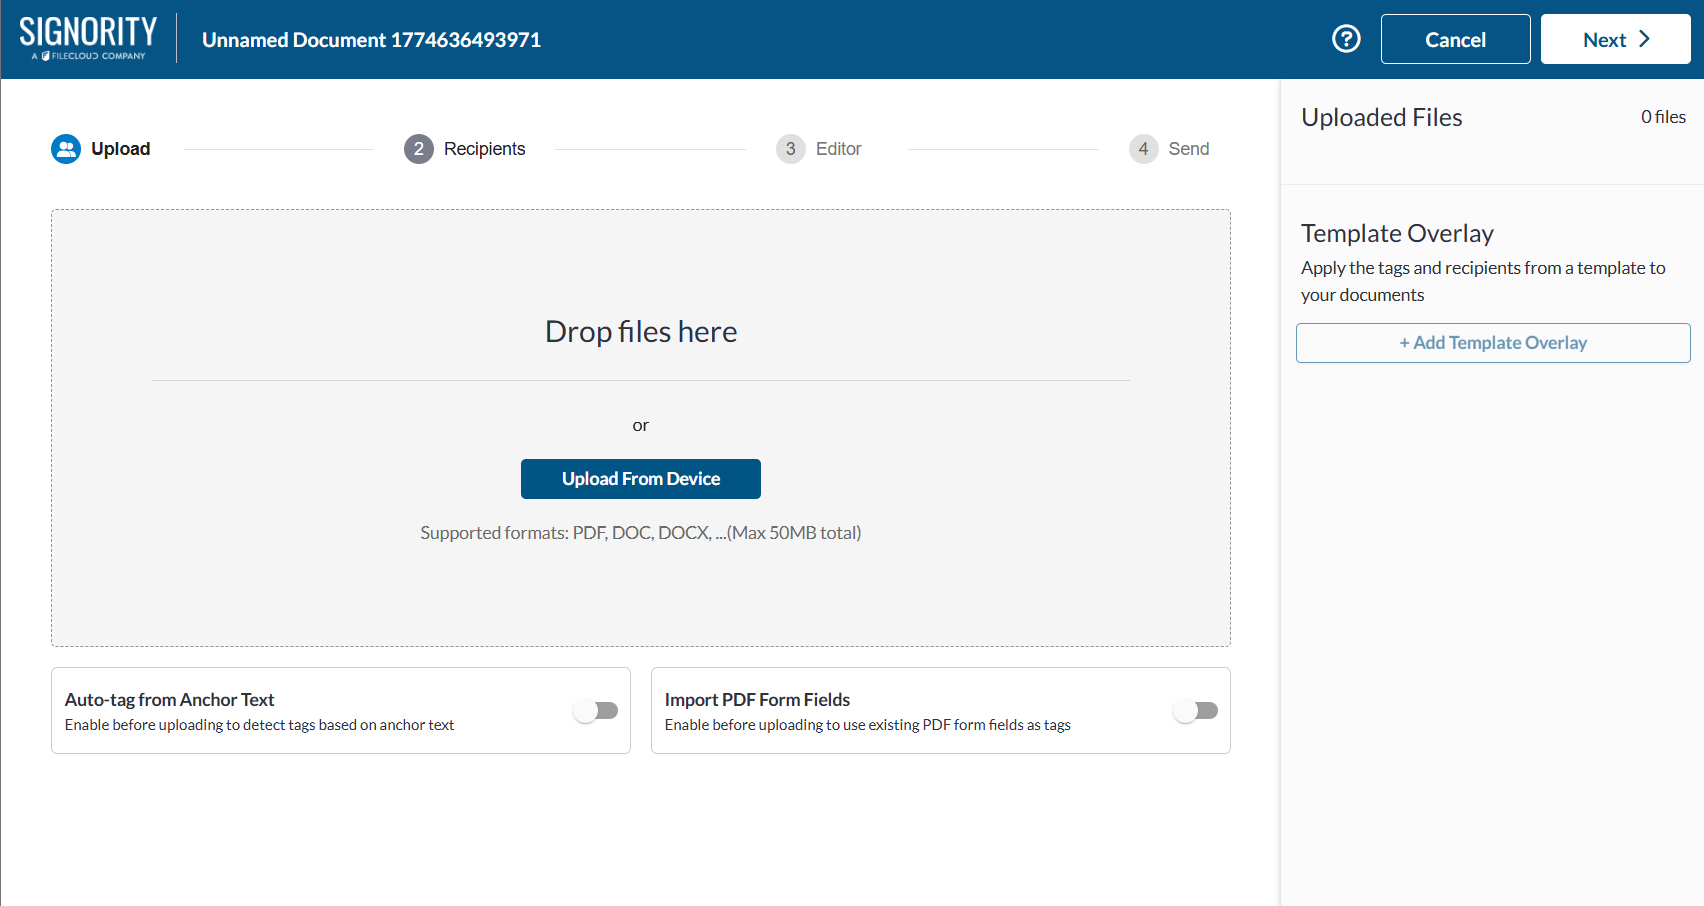 If you have a document that has PDF form fields or anchor text, you can select those options using the options below the drop files area. You must do this before uploading your files. This will let the system know to upload while searching for those options.
See Anchor Text: Creating a New Document to learn more about how to set up a document with Anchor text.
- Click Next to go to the Recipients page.
- On the Recipients page, select Add Recipients and enter their names and email addresses, or if you will be a signer, you can simply select Add Me to add yourself.
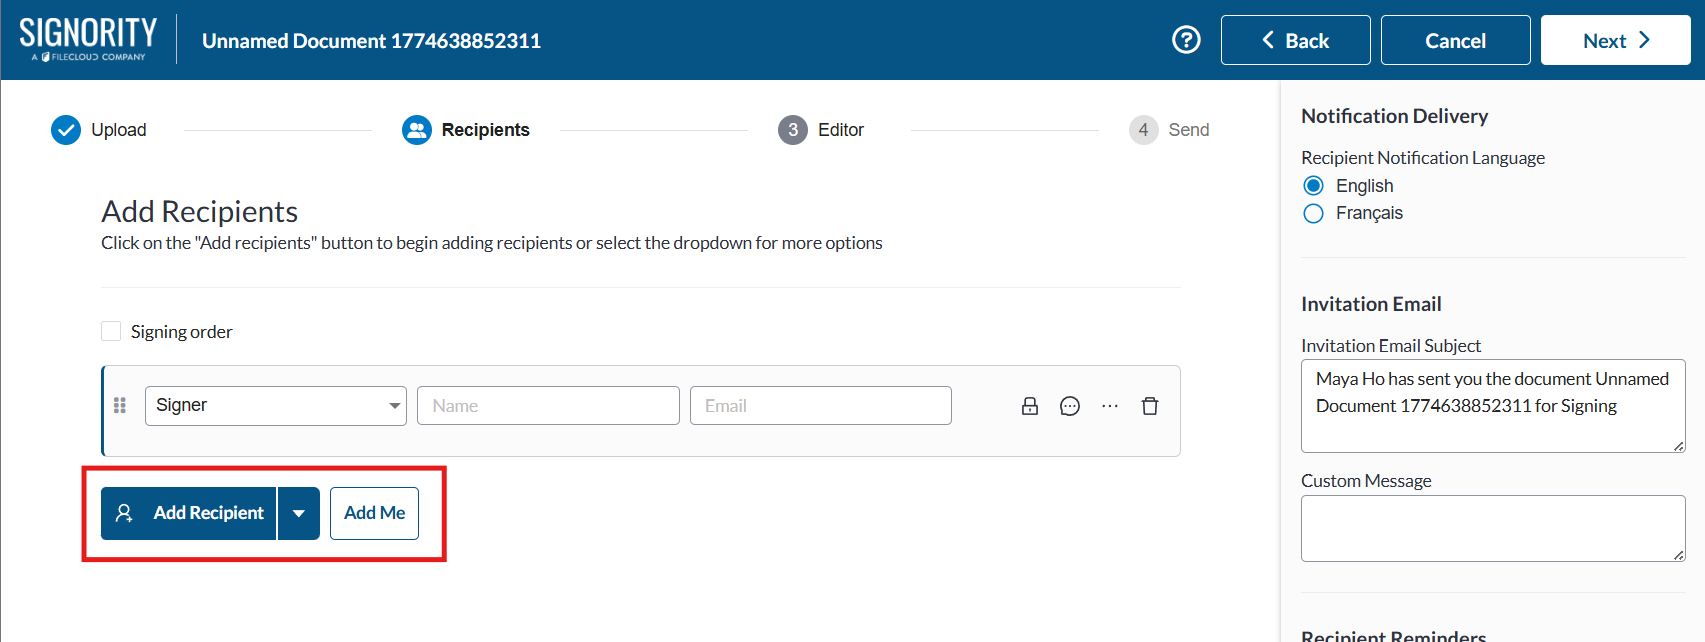
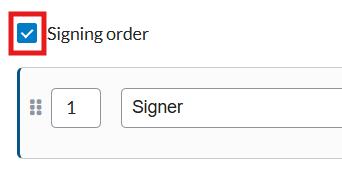
- You can also create a signing order by selecting the Signing Order checkbox and reordering the recipients by either dragging them or typing in their order number. This allows you to create a sequence for your signers and further customize the workflow to fit your needs.
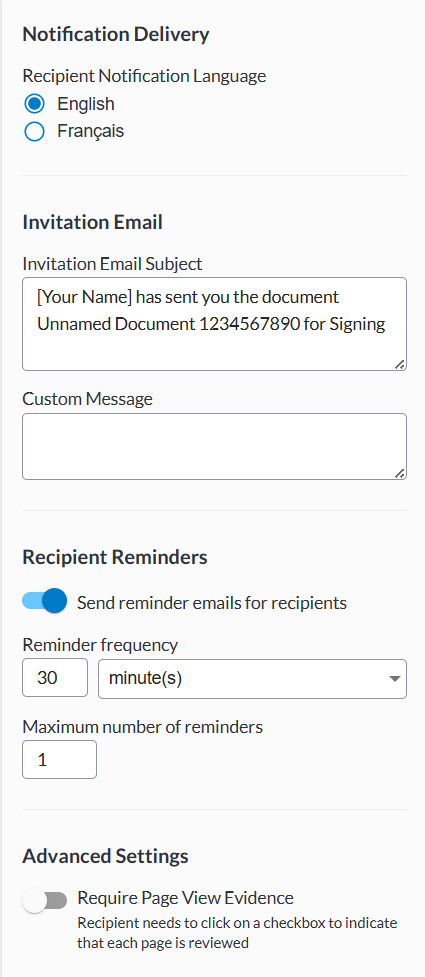
- You can then personalize the invitation email to your signers by changing the email subject line and body message to suit your needs. You can also customize an email reminder schedule and set up capturing page view evidence from your signers on the right panel.
- Click Next to go to the document editor.
- On the editor page, add Tags to your document and assign them to the correct role by selecting the tag and using the drop-down. Continue adding tags through the rest of the document.
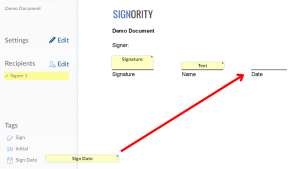
You can also pre-fill the tags by simply clicking on the tag and then typing.
- To edit a tag’s settings, select the tag and then click on the gear icon.

- Review your document before clicking Send in the top right.