Signority Integration with Amazon S3 Bucket for Storage
With the release of Sprint 44 on November 19, 2019, you could to store signed documents from your team in your Amazon S3 bucket. Here’s a quick step-by-step on how to set up this exciting new integration!
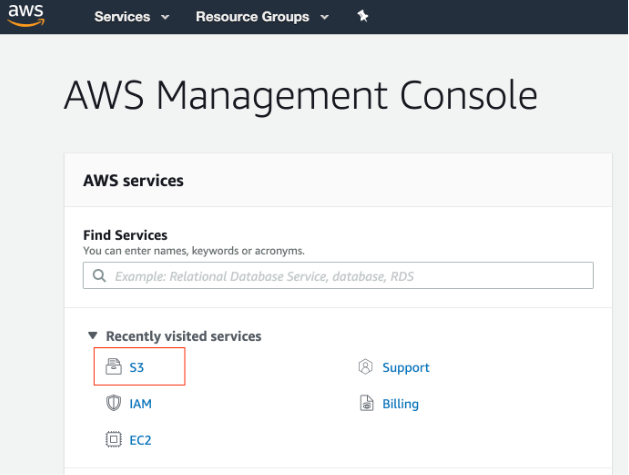
First, you need to register an Amazon Web Services (AWS) account. After your account is set up, go to your AWS console and select “S3” from services menu.
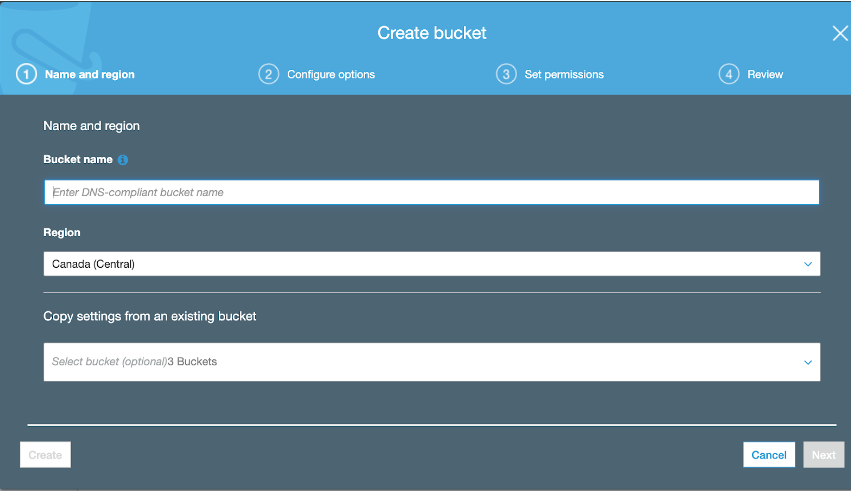
Once you arrive at the S3 console, create a bucket, and give it a name. Bucket names are global and you cannot use a name that others have used.
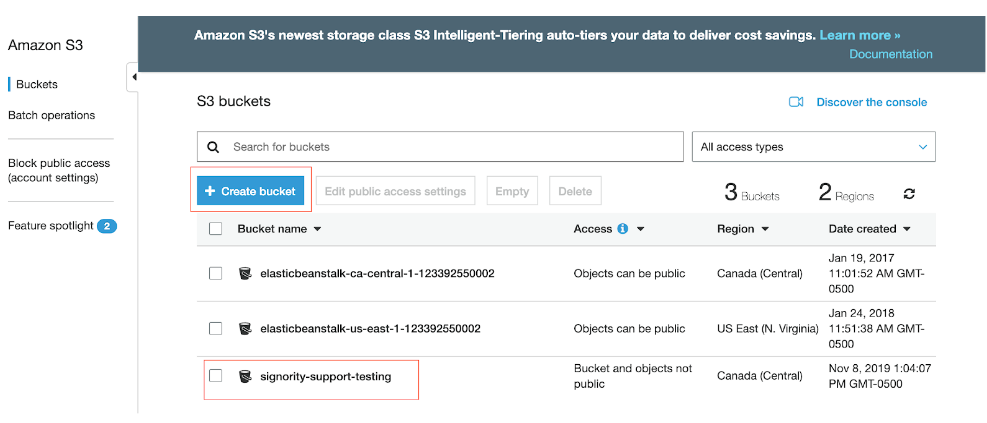
Once you have created the bucket, you will see it show up on the console.
Now, you will need to get your Access Key ID and your Secret Access Key.
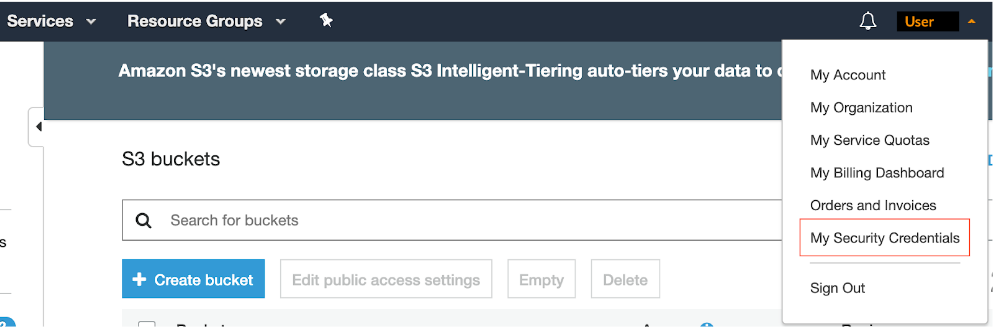
Go to your account and select My Security Credentials to find your Access Key ID and Secret Access Key.
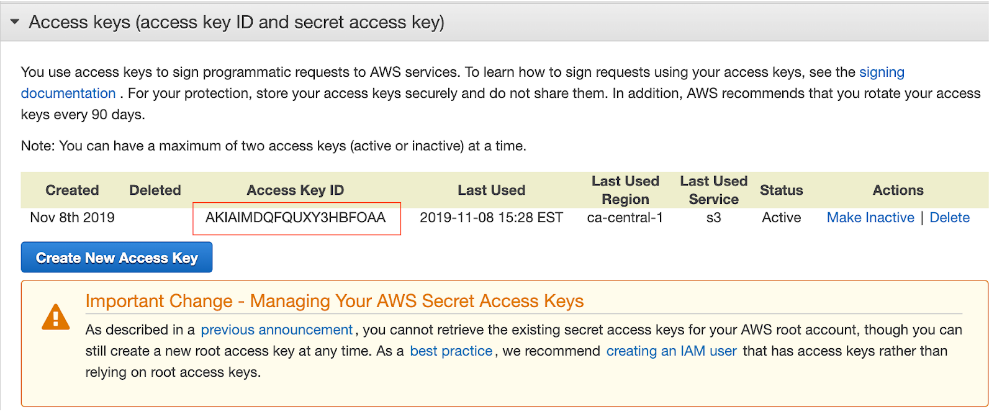
If you don’t have an Access Key, select Create New Access Key.
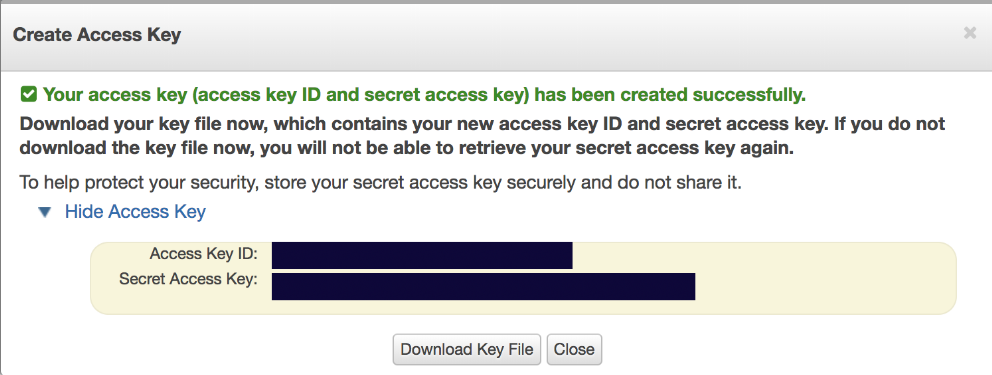
Then, save your keys. You will need the Access Key ID and Secret Access Key to activate the integration in Signority.
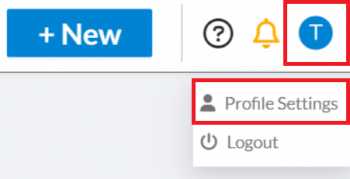
Once you have done that, sign into your Signority account and click on “Profile Settings”.
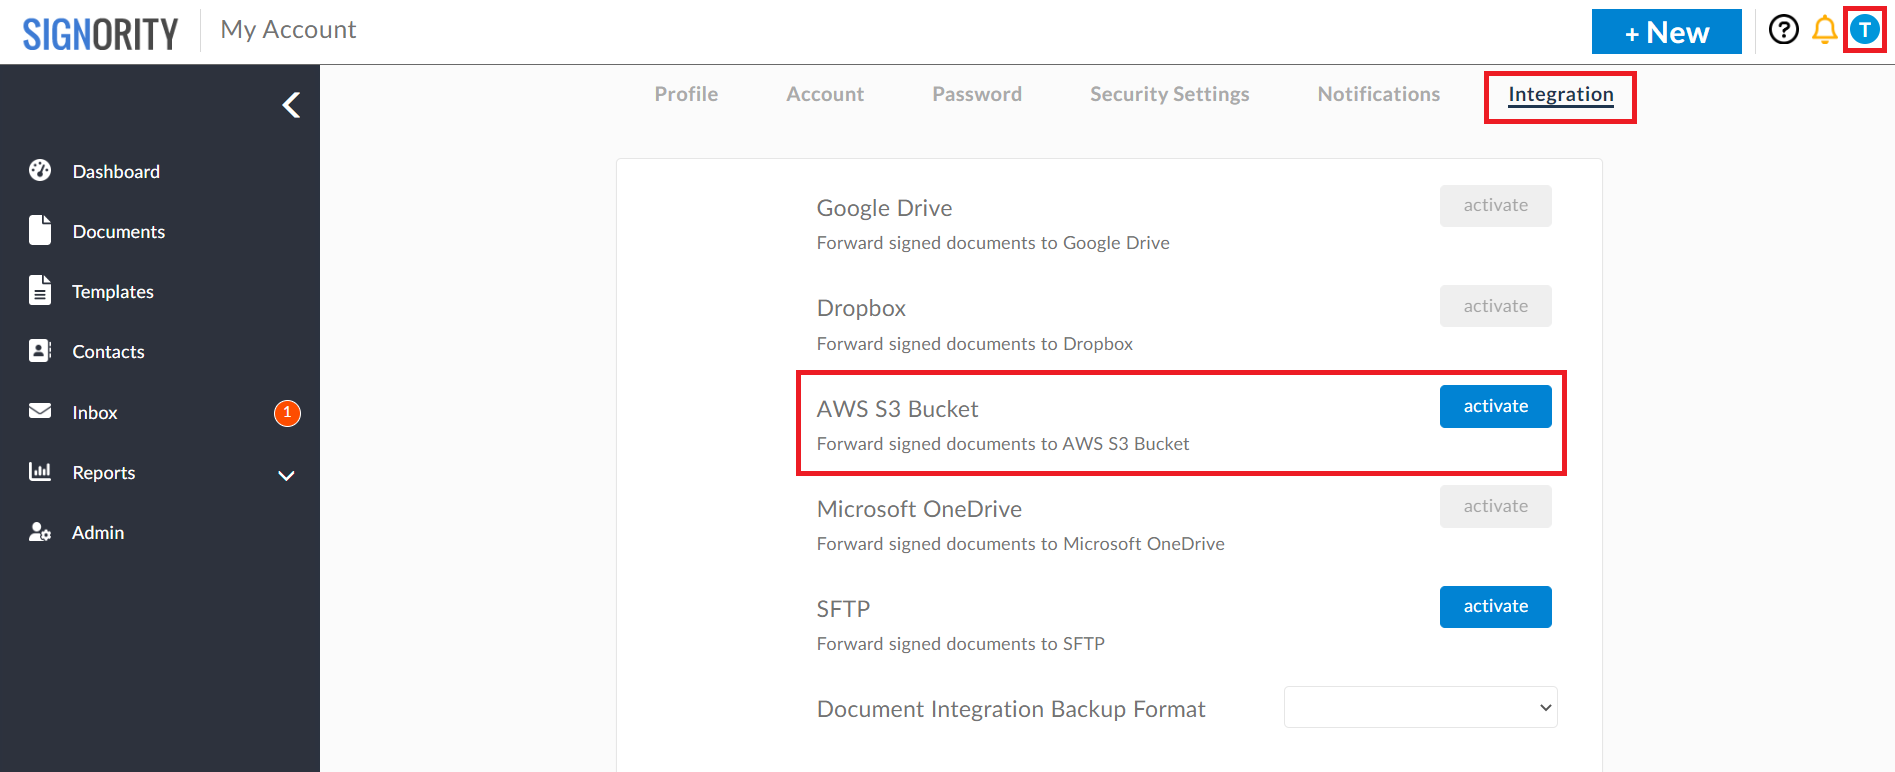
Click on the Integration tab then click on Activate next to AWS S3 Bucket.
You will see a pop-up window where you enter your Access Key, Secret Access Key, Bucket name, and Region.
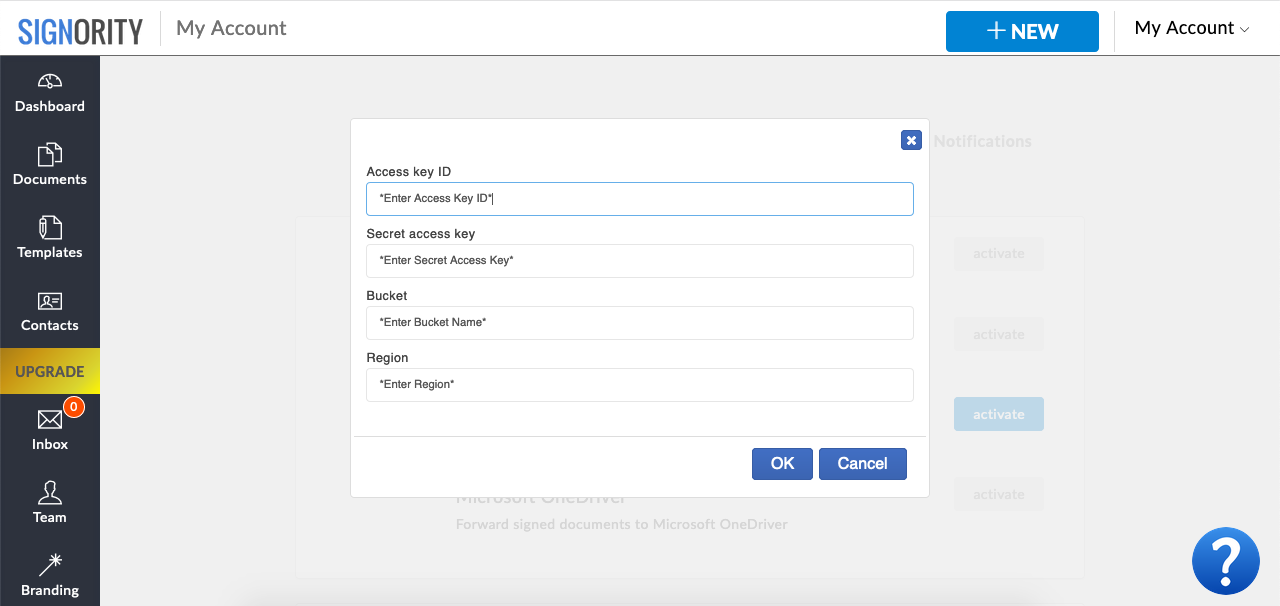
Once you’ve entered all the information, hit “OK”, and you’re ready to start signing! You should see a test document named “Welcome_to_Amazon_s3” appear in your S3 bucket. From now on, whenever a document is finalized, a zip file will be saved in the S3 bucket. Anyone on your team can create documents to be stored in the bucket.
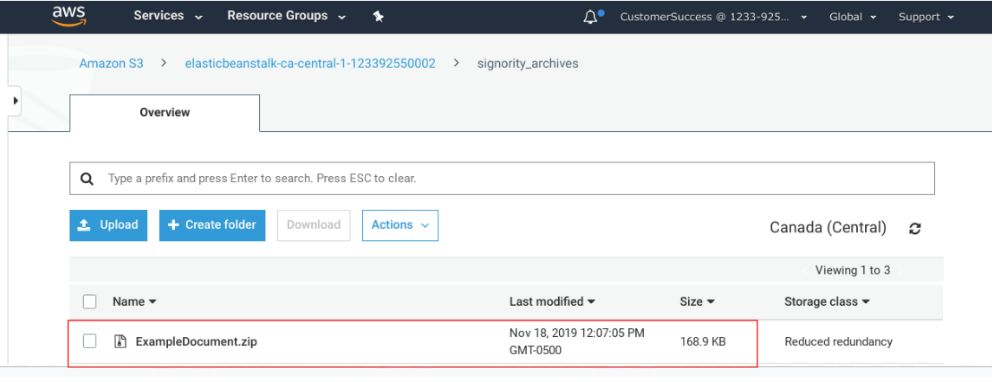
The billing admin and proper team admins can configure the S3 budget setting. Regular users don’t have permission to configure the integration.
Also, if at any time you want to deactivate Amazon S3 integration, just click on the “Deactivate” button. You can find it in the same place that you activated the integration.
More storage integrations with Google Drive, Microsoft OneDrive, and Dropbox will be coming soon!
